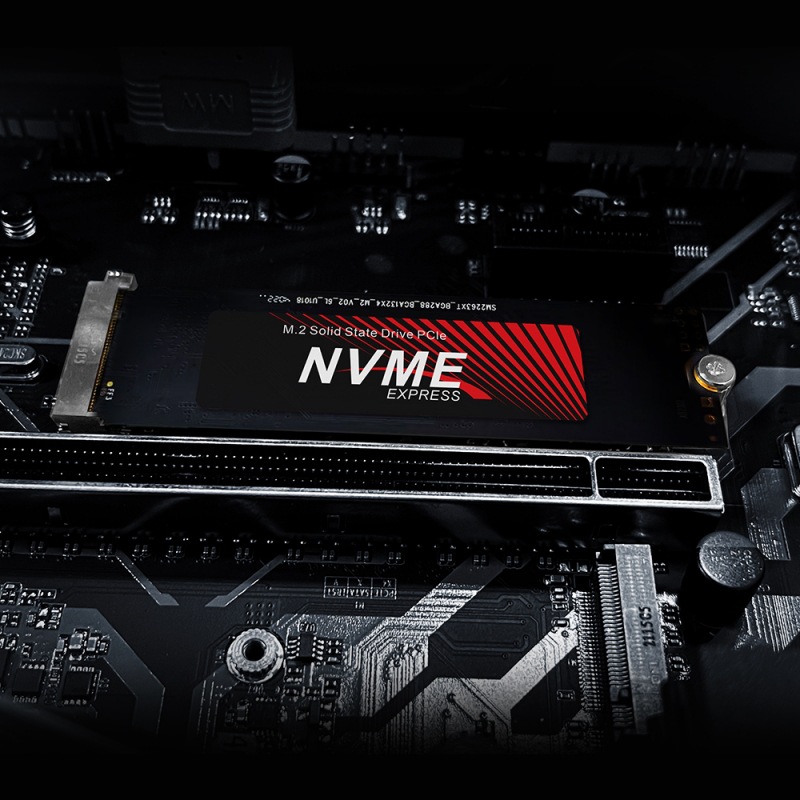
When most new SSDS are used for the first time, they must go through an initialization process. For SSDS that have not been initialized, they can be first hung to any computer for initialization. The system will automatically select MBR mode, and you can initialize them by clicking OK. After the SSD is initialized, it can be partitioned and formatted.
2. SSD partition formatting
Install the SSD on any computer with WIN7, WIN8 or WIN10 system, enter the disk management system through the control panel of the system, and partition and format the SSD directly in the disk management. You can also use the WIN7, WIN8 or WIN10 system installation disk to boot, partition and format the system during installation. During the system installation process, use the system installation disk to boot, select the drive advanced option during the system installation process, you can partition and format the unpartitioned disk.
SSD partitions can follow the principle of "less partition, small partition", after dividing into multiple partitions, each partition needs to leave a part of spare space, which leads to some space will be wasted, such as: 128G SSD is divided into 2 partitions, 256G SSD is divided into 2-4 partitions is appropriate. At the same time, do not divide the SSD capacity to the full, reserve a part of the capacity as the "free location" for internal optimization operations, such as wear balancing, garbage collection, and bad block mapping. For example, Inruida NAND capacity 128G SSD, the manufacturer will nominal 120G, the rest of the part is set as reserved space. You can also continue to increase the reserved space
on this basis, such as: 128G SSD partition only 120G or less.
3. System installation
When installing the operating system for the SSD, be sure to enable AHCI mode, which is to enter the BIOS of the computer and change the disk mode to AHCI mode.
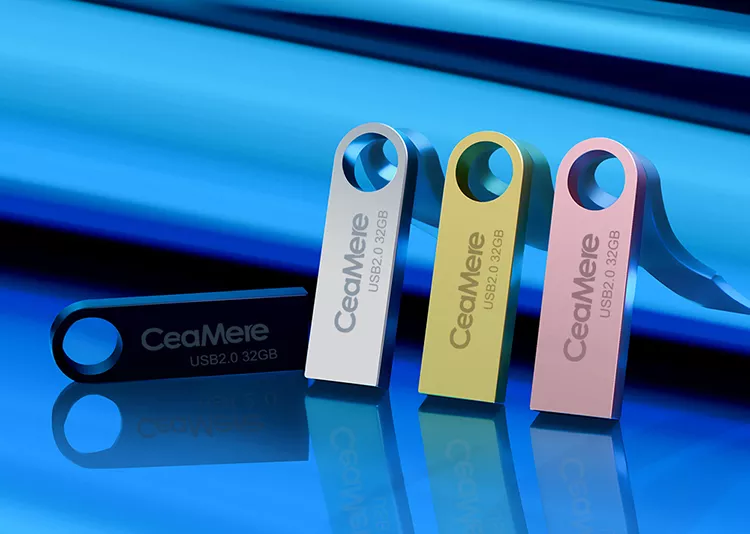
In the boot menu of the computer or enter the BIOS to set the prepared USB flash drive as the first boot disk, in the BIOS on the motherboard BIOS boot item - boot option properties - select the boot priority, after the selection is saved, the USB flash drive starts, boot can enter the boot installation interface. Follow the instructions to complete the simple Settings, restart to use, feel the SSD brought by the pleasant experience.
------------------------------------------------------------------------------------------------------------------------------------------------------
Part of the content of the article is reproduced online for the purpose of transmitting and sharing information, and does not mean that it agrees with its views and is responsible for its authenticity. If it involves the content of the work, copyright and other issues, please contact the company within 30 days, we will delete the content in the first time. The content of the article is for reference only. Smare Technology Co., Ltd. All Rights Reserved. Information, products and/or specifications are subject to change without notice. In the event of omissions or errors in printing or photographic Smare Technology Co., Ltd. No responsibility.
 USB Flash Drive
 Memory Card Application
 Modern Storage Technology: The Repository Of Data In The Digital Age